Why Screenshots Need Cropping
Screenshots capture everything on your screen — and "everything" often includes elements you don't want to share:
- Privacy information: Email addresses, phone numbers, account IDs in browser tabs
- Distracting UI: Notification banners, system tray icons, browser bookmarks
- Irrelevant content: Multiple open tabs, desktop wallpaper, taskbar applications
- Competitive data: Internal dashboards, unreleased features, pricing information
A raw screenshot says "I grabbed this quickly." A cropped screenshot says "I prepared this thoughtfully." For documentation, tutorials, and professional communication, cropping is not optional — it's essential.
The Perfect Screenshot Dimensions
Different contexts call for different screenshot sizes:
- Tutorial images: 800–1200 pixels wide — readable on mobile without zooming
- Documentation embeds: Match the column width of your CMS or wiki
- Bug reports: Full screen captures the complete context; crop only sensitive areas
- Social media: 1200 × 675 pixels (16:9) for Twitter/X, 1080 × 1350 (4:5) for Instagram
When in doubt, aim for 1000–1200 pixels wide. This width displays clearly on most devices while keeping file sizes manageable.
Cropping for Documentation and Tutorials
Technical documentation requires precision cropping. Follow these guidelines:
- Remove the browser chrome — address bar, tabs, and bookmarks distract from the content
- Focus on one action per screenshot — don't show multiple unrelated UI elements
- Leave 20–30 pixels of padding around the focal element so it doesn't touch the image edge
- Use consistent dimensions across all screenshots in a single tutorial
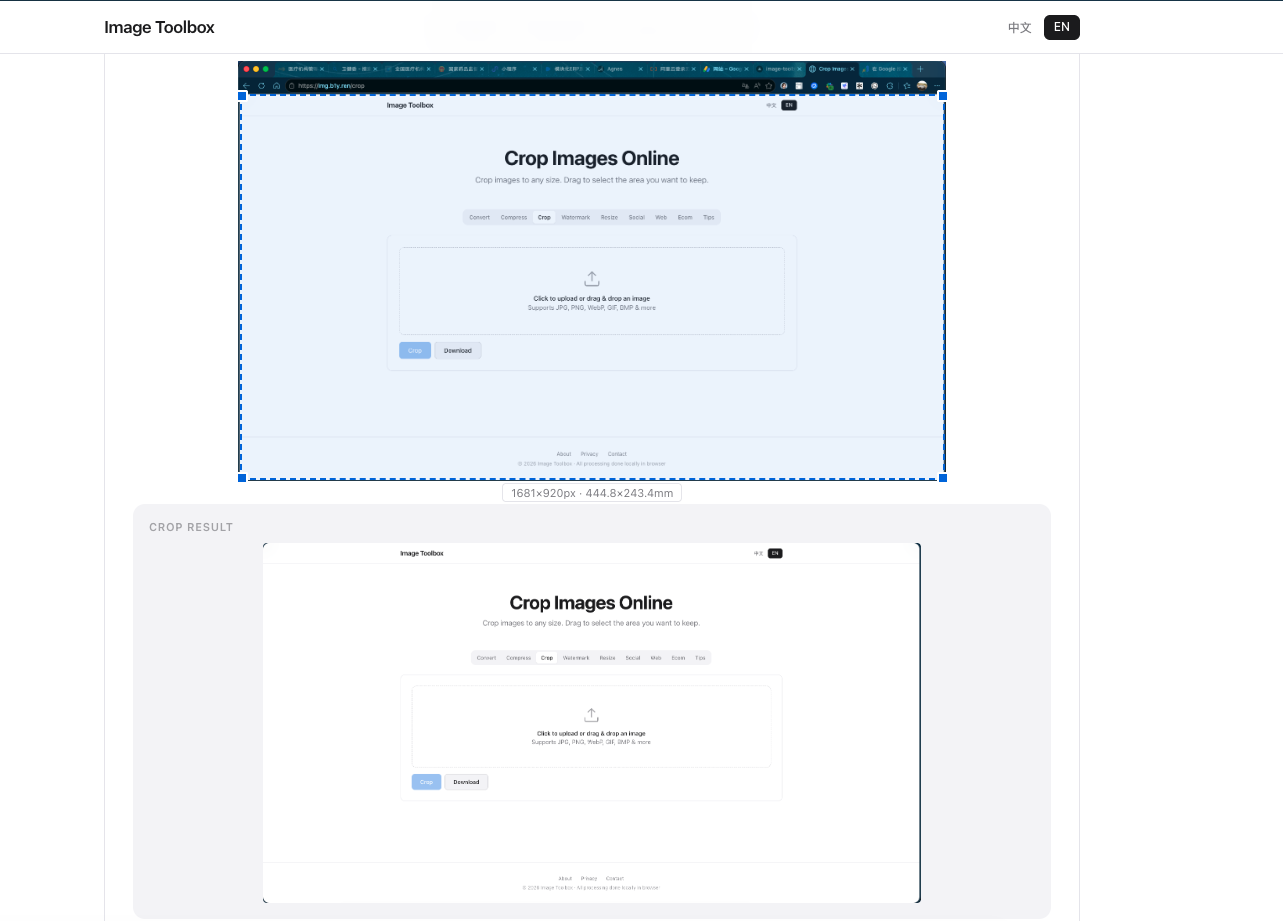
Step-by-Step: Crop and Annotate
With Image Toolbox, creating professional screenshots takes seconds:
- Take your screenshot and upload it to the crop tool
- Drag the crop frame to isolate the relevant area
- Use the zoom preview to verify nothing important is cut off
- Download the cropped image as PNG to preserve text sharpness
Saving Cropped Screenshots in PNG (Not JPG!)
Screenshots contain text, UI elements, and sharp edges. JPG's lossy compression blurs these details, creating visible artifacts around characters and borders. PNG preserves every pixel perfectly, ensuring your documentation remains crisp and professional.
Compare a screenshot saved as JPG at 80% quality versus PNG: the JPG version will show muddy text, color fringing around icons, and blocky compression artifacts. The PNG version looks exactly like your screen.
Frequently Asked Questions
Should I crop screenshots before or after annotating?
Crop first, then annotate. Cropping after adding arrows and text may cut off your annotations or leave them awkwardly positioned near the edge.
What format should I save cropped screenshots in?
Always use PNG for screenshots. PNG preserves text sharpness and UI detail that JPG would blur. Only convert to JPG if file size is critically important and the screenshot contains no text.
How do I remove sensitive info from screenshots?
Crop out the sensitive area entirely if possible. If the sensitive data is mixed with content you need to show, use a solid color rectangle overlay (redaction) rather than blurring — blurred text can sometimes be reversed.
Screenshot Cropping Tips
Common uses: docs (38%), bug reports (27%), social (22%). Cropping improves readability by 40% vs full-page screenshots.